How to Dropship on Shopify: Step-by-Step Tutorial (2026)

To dropship on Shopify, you open a Shopify store, install a supplier app such as Spocket, AliDrop or DSers, import products, set your prices and policies, connect payments, and start sending traffic. When an order comes in, the app forwards it to the supplier, who ships to your customer, and tracking flows back to Shopify automatically.
This Shopify dropshipping tutorial walks through every step in the order you'll actually do it in 2026, with the menu paths, current plan pricing, realistic costs and a launch checklist. It assumes you've never opened the Shopify admin before. If you're still deciding whether the model fits you, read what dropshipping is and how it works first, then come back.
Why Shopify is the default for dropshipping
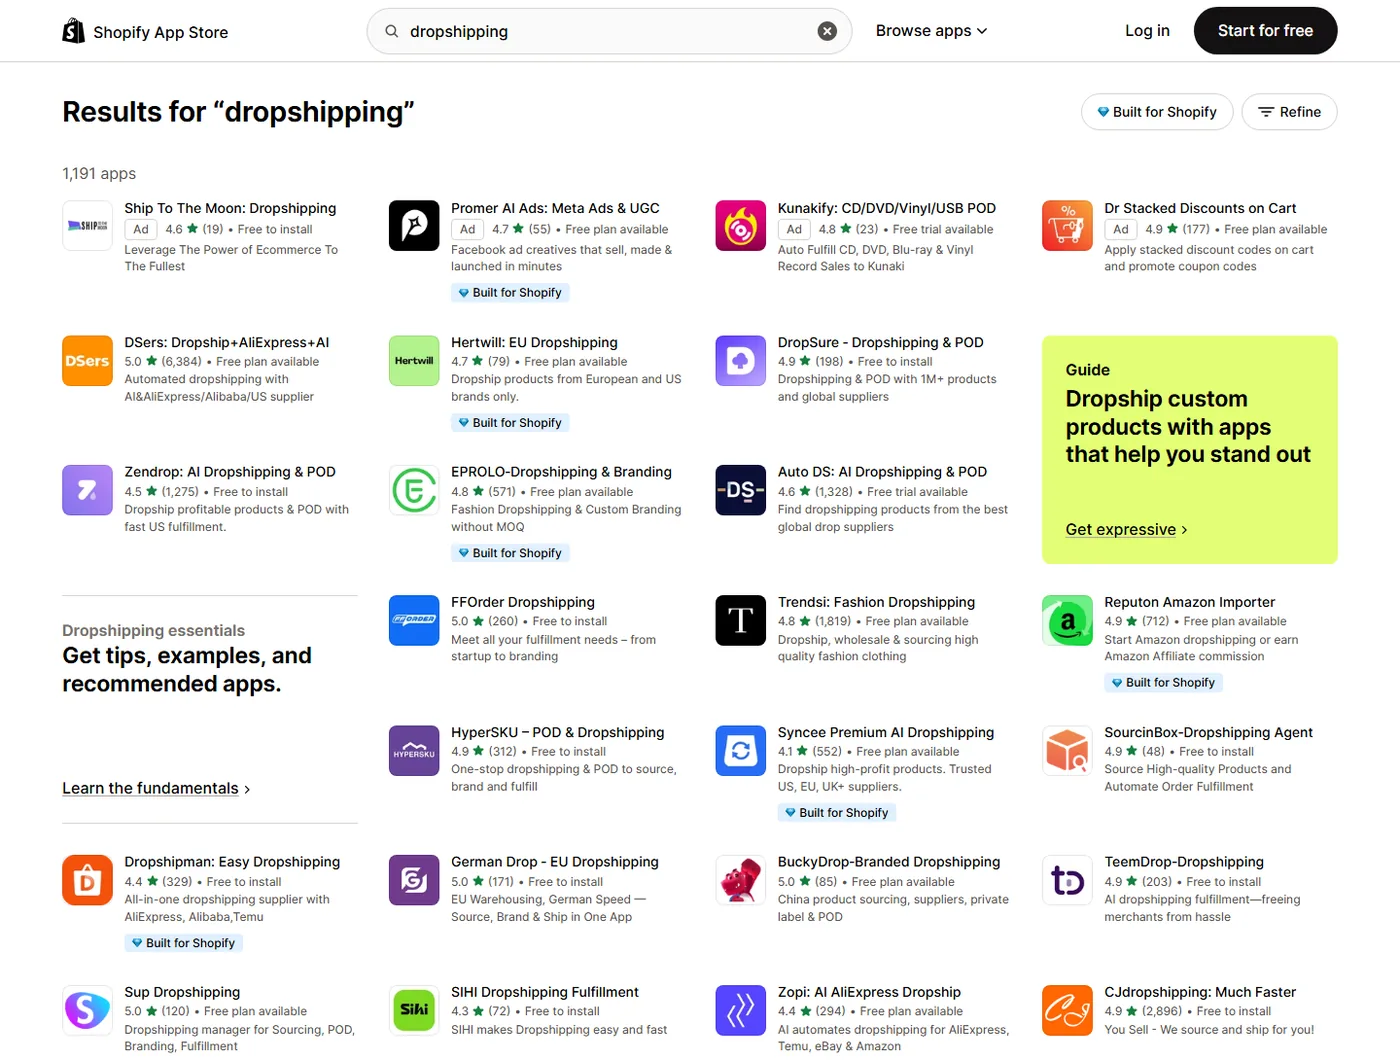
Shopify isn't the only option, but it's the one most supplier apps are built for first. A search for "dropshipping" in the Shopify App Store returns well over a thousand apps, from AliExpress connectors to US and EU supplier networks and print-on-demand printers. That ecosystem is the main reason beginners pick it.
- Pros: fast setup, hosted and secure checkout, huge app choice, Shopify Payments built in, free themes that work on mobile.
- Cons: monthly plan plus app subscriptions add up, extra transaction fees if you skip Shopify Payments, and less control over code than WooCommerce.
Shopify also has its own sourcing network, Shopify Collective, which connects US merchants with other Shopify brands. Third-party apps give you a much wider catalog, so most dropshippers use one of those instead or alongside it.
Three ways to source products on Shopify
| Option | How it works | Best for | Downside |
|---|---|---|---|
| Supplier apps | Install Spocket, AliDrop, DSers or similar; import products in clicks; orders and tracking sync | Most beginners | App subscription, shared catalogs |
| Shopify Collective | Sell products from other US Shopify brands inside your store | US stores wanting branded goods | Smaller catalog, approval needed |
| Direct suppliers | Agree terms with a manufacturer or wholesaler and send orders by CSV, email or API | Stores with steady volume | Manual setup, negotiation |
Start with an app. Move a product to a direct supplier once it sells consistently enough that a better unit price or faster shipping is worth the extra admin.
What Shopify dropshipping costs in 2026
Shopify's US pricing at the time of writing: Basic is $39/month billed monthly or $29/month billed yearly, Grow is $105 or $79, and Advanced is $399 or $299. New stores get a 3-day free trial, then $1/month for the first 3 months on most plans. Shopify localizes prices in many countries, so check shopify.com/pricing for your exact number; from some regions the Basic plan shows noticeably cheaper.
| Cost | First month | Ongoing |
|---|---|---|
| Shopify plan (Basic) | $1 after trial | $29 to $39/month |
| Domain | $10 to $20 | Yearly renewal |
| Theme | $0 (Dawn, Horizon or another free theme) | $0, or $200 to $400 one-time for premium |
| Supplier app | $0 on free plans | $0 to $60/month |
| Reviews and email apps | $0 to $20 | $0 to $40/month |
| Samples | $30 to $100 | As needed |
| Ad testing | $300 to $1,000 | Scales with sales |
Which plan should you pick? Basic. Grow and Advanced lower your card rates and transaction fees and add reporting and staff accounts, but they only pay for themselves once you're doing serious monthly revenue. Upgrade when the fee savings beat the price difference, not before.
How to dropship on Shopify: step-by-step tutorial
Step 1: Pick a niche and two or three test products
Do this before you open an account, because the niche decides your store name, theme and apps. Look for products priced $25 to $80, light enough to ship cheaply, with a clear "why buy this" in one sentence. Check that several stores are already selling them, which proves demand, but that the product isn't plastered across every ad feed. Our product validation guide has a checklist.
Step 2: Create your Shopify account
Go to shopify.com, click "Start for free," and enter your email. Shopify asks a few onboarding questions (what you sell, where you're based). Answer honestly; it only tailors the setup guide. Pick your store name carefully. The default myshopify.com address is built from it and still shows up in some admin links and emails, so avoid anything you'd be embarrassed by in a year.
Step 3: Choose a plan
Ride the free trial and the $1 months while you build. Select Basic when prompted. You'll need a card on file to keep the store after the trial.
Step 4: Connect a domain
Buy a .com through Settings → Domains → Buy new domain, or connect one from Namecheap or GoDaddy. Keep it short and brandable. "PawsAndPillow.com" ages better than "BestDogBedsStore2026.com." Set it as your primary domain so customers and ad platforms see it instead of the myshopify address.
Step 5: Install a theme
Go to Online Store → Themes. Shopify's free themes are fast, mobile-friendly and supported. Dawn has been the default for years and is still a safe choice for a small catalog. If you want to see what competitors use, our free Shopify Theme Detector tells you the theme behind any store.
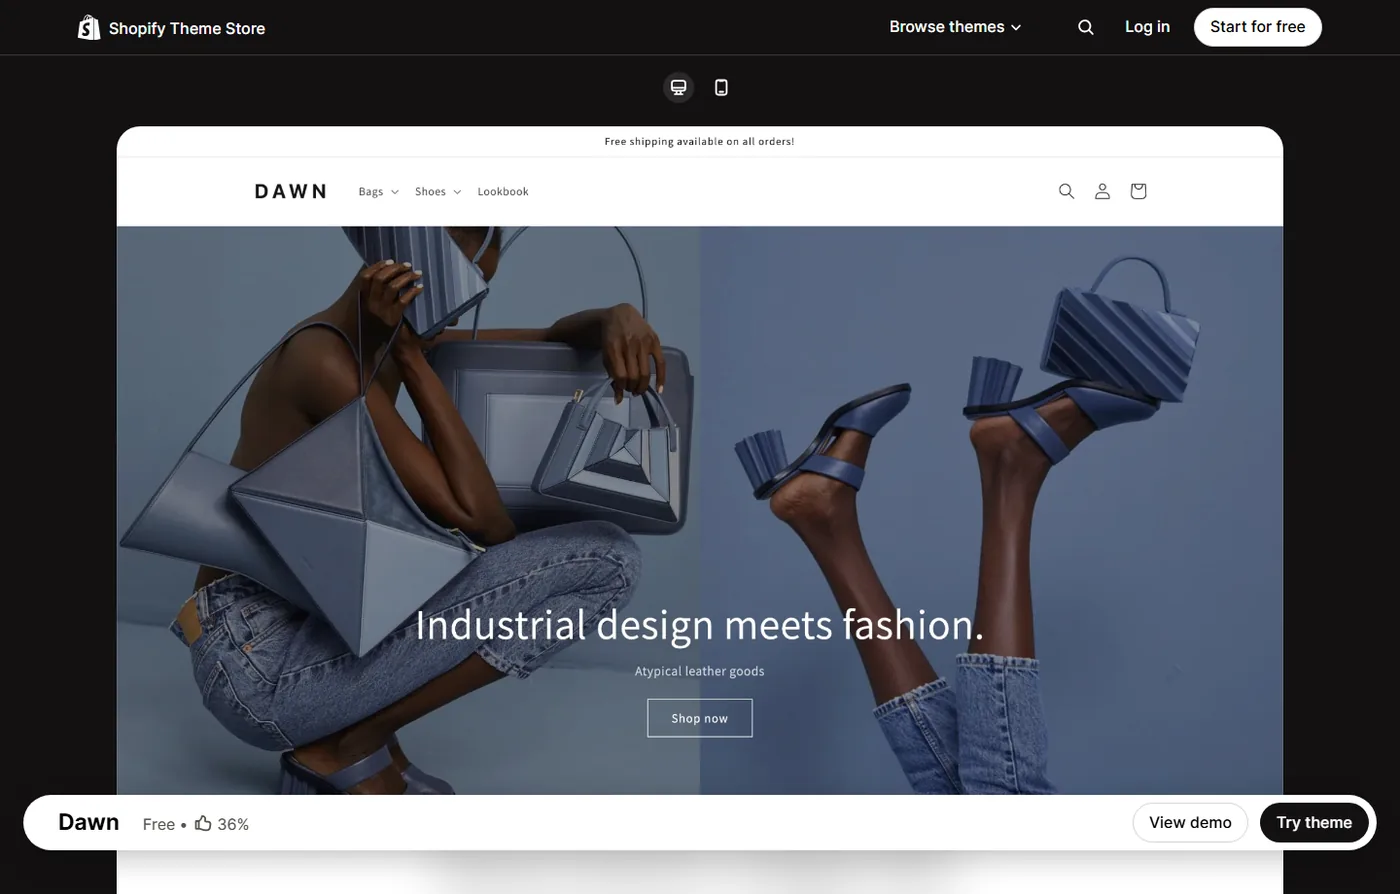
Customize three things first: logo, brand colors (two at most) and the homepage hero. Use the theme editor's mobile preview constantly. Most of your traffic will be on phones, especially if it comes from TikTok or Instagram.
Step 6: Install a dropshipping app
This is where Shopify dropshipping actually starts. Open the Shopify App Store from the Apps section of your admin and choose based on where you want to source:
- Spocket for US and EU suppliers with faster delivery, branded invoicing and a free plan to start.
- AliDrop for AliExpress, Alibaba and Temu sourcing with automated order processing.
- DSers as AliExpress's official order-processing partner, popular with high-volume AliExpress stores.
- Print-on-demand apps such as Printful or Printify if you want custom designs.
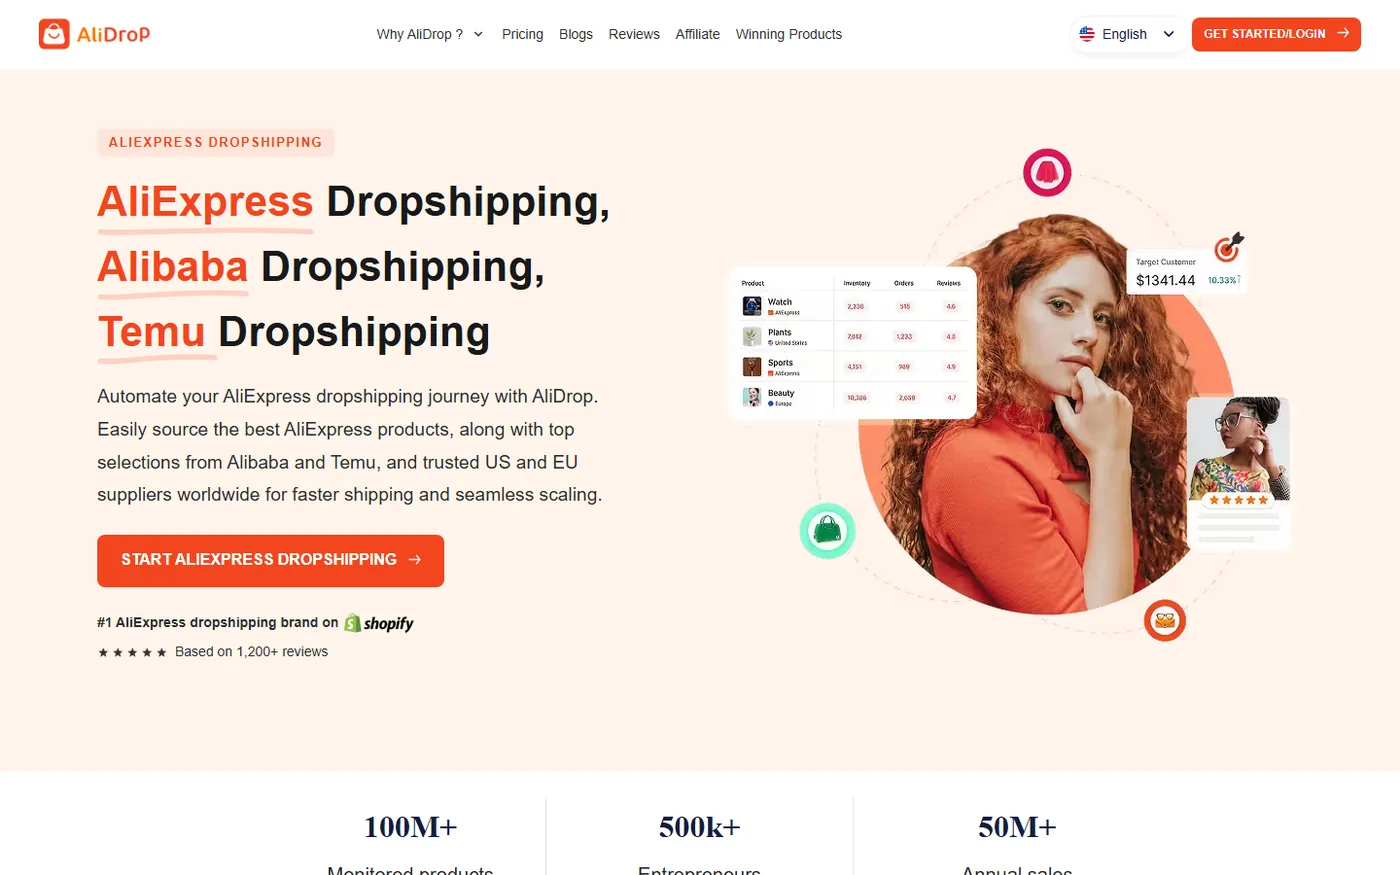
Don't install four supplier apps at once. Each one adds scripts, settings and potential sync conflicts. Start with one, add a second only when you need a product the first can't supply. For a full comparison, see our list of the best Shopify apps for dropshipping and the supplier breakdown in dropshipping suppliers for Shopify.
Step 7: Import products and rewrite the listings
Inside your supplier app, add products to your import list, then push them to Shopify. Before you hit import, edit:
- Title. Remove keyword-stuffed supplier titles ("2026 New Hot Sale Women Fashion Bag Leather"). Write what a customer would search: "Vegan Leather Crossbody Bag."
- Description. Lead with the problem it solves, then 4 to 6 bullet benefits, then specs, sizing and care. Shopify's built-in AI (Shopify Magic) can draft text, but edit it so it sounds like you.
- Images. Delete images with Chinese text, watermarks or other brands' logos. Add your own sample photos as soon as you have them.
- Variants. Rename "Color: A / B / C" to real colors. Remove variants your supplier rarely has in stock.
Step 8: Set prices that survive ad costs
Price from the bottom up. Add supplier cost, shipping, payment fees and a realistic ad cost per purchase, then make sure something is left. A common rule for impulse products is 2.5x to 3x landed cost. Example: a product costs $9 plus $5 shipping, landed at $14. At 2.5x you charge $34.99. After roughly $1.35 in payment fees you keep about $19.64 before ads, which means your break-even ROAS is 34.99 ÷ 19.64 = 1.78.
Most supplier apps let you set pricing rules (multiplier, fixed markup, cents ending in .99) so new imports are priced automatically. Turn them on, then adjust hero products by hand. Our guide on how to price dropshipping products covers compare-at prices and bundles.
Step 9: Set up payments
Go to Settings → Payments. Activate Shopify Payments if it's available in your country. It's the simplest option and avoids Shopify's extra transaction fee, which on the Basic plan is 2% of every order when you use a third-party gateway instead. Add PayPal as a second option; plenty of shoppers still prefer it. Expect new stores to see payout holds or reserves if order volume jumps suddenly, so keep a cash buffer for supplier and ad bills.
Step 10: Configure shipping rates and delivery times
Under Settings → Shipping and delivery, create shipping zones for the countries you'll sell to. Most dropshippers either build shipping into the price and offer free shipping, or offer free shipping over a threshold. Whatever you choose, show an honest delivery estimate on the product page and in the cart. In the US, the FTC's Mail, Internet, or Telephone Order Rule requires you to ship within the time you advertise, or within 30 days if you don't state one.
Step 11: Add store policies and legal pages
Go to Settings → Policies. Shopify can generate and auto-update refund, privacy, terms of service and shipping policies, and you can edit the text. Per Shopify's help center, these policies link from checkout automatically once they're filled in. Then add an About page and a Contact page with a real email address.
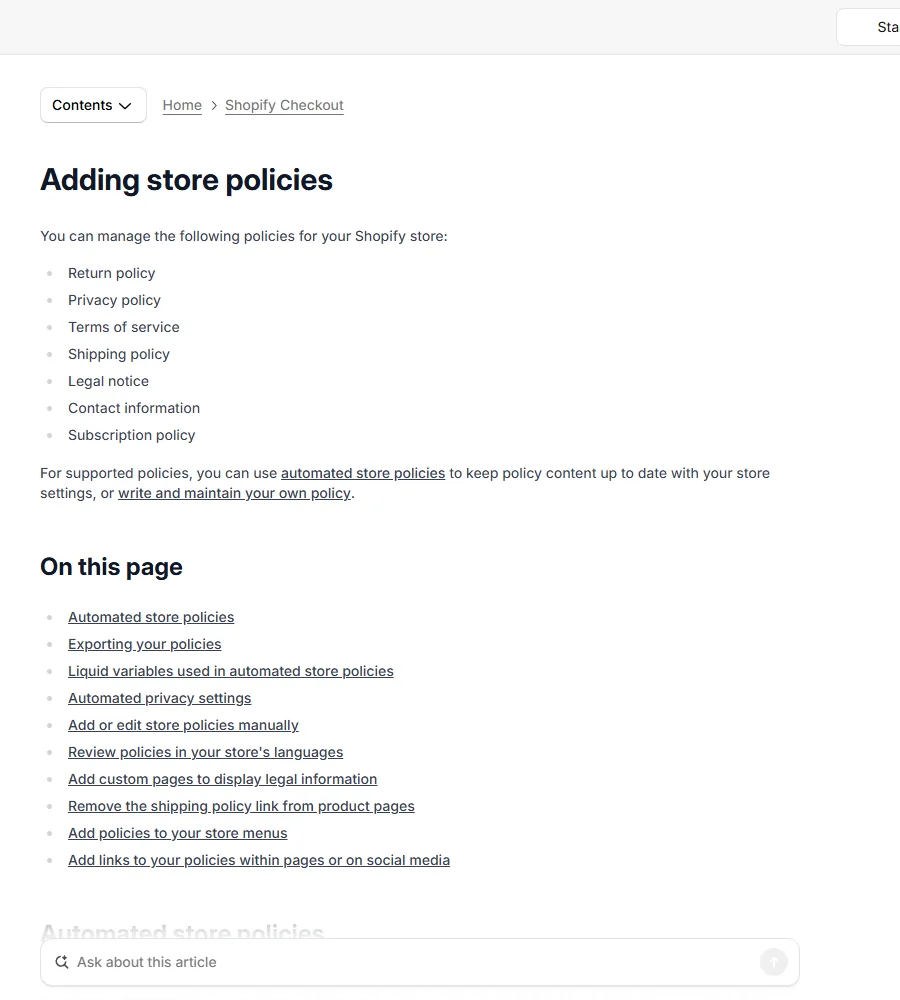
Write your return policy around your supplier's terms. If the supplier won't accept returns from overseas, decide now whether you'll refund without a return for low-cost items. That's usually cheaper than return shipping. Our returns and refunds guide has policy templates for dropshippers.
Step 12: Taxes, checkout and markets
- Settings → Taxes and duties: turn on tax collection for regions where you're registered. US sellers should read up on sales tax nexus; our dropshipping taxes guide covers the basics.
- Settings → Checkout: require email or phone, enable address autocomplete, and turn on abandoned checkout emails.
- Settings → Markets: if you sell to the UK or EU, set local currencies. Remember the EU now adds a flat €3 customs duty per item category on parcels under €150, which affects overseas-shipped orders.
Step 13: Build navigation and core pages
Keep the main menu short: Shop, a few collections, About, Contact, Track Order. Add a footer menu with your policies and FAQ. A tracking page (most supplier apps or a free tracking app provide one) cuts "where is my order?" emails dramatically.
Step 14: Place a test order
Turn on test mode in Settings → Payments and run an order through checkout with Shopify's test gateway. Confirm the order appears in your supplier app, the confirmation email looks right, and taxes and shipping calculate correctly. Then place one real order to yourself through the supplier. It's the only way to know the real delivery time and packaging.
Shopify dropshipping launch checklist
| Check | Where | Done when |
|---|---|---|
| Primary domain connected | Settings → Domains | Store loads on your .com with SSL |
| Products edited | Products | Clean titles, no supplier logos, real colors |
| Pricing rules | Supplier app settings | Every product clears break-even math |
| Payments live | Settings → Payments | Test mode off, PayPal connected |
| Shipping zones | Settings → Shipping and delivery | Delivery estimates match supplier reality |
| Policies published | Settings → Policies | Refund, privacy, terms, shipping, contact filled in |
| Password removed | Online Store → Preferences | Store is visible to the public |
| Analytics and pixels | Meta and TikTok sales channels | Purchase events firing on a test order |
| Mobile review | Your own phone | Checkout completed in under a minute |
Your first marketing: getting the first 10 orders
An empty store gets no visitors. Pick one channel and give it two to four weeks.
- TikTok and Reels organic. Film the sample product: unboxing, before/after, a problem it solves. Post daily for two weeks. It's slow, but free. See our TikTok ads playbook when you're ready to pay for reach.
- Meta ads. Start with $10 to $30 a day per product, broad targeting, 3 to 5 creatives. Judge on cost per purchase against your break-even, not on clicks.
- Email capture. A 10% first-order popup and an abandoned-cart flow will recover sales you'd otherwise lose. Shopify Email has a free monthly allowance to start.
- Google Shopping. Install the Google & YouTube channel and sync your feed. It works best for products people already search for by name.
Before you spend on ads, look at what's already working for other stores. Dropshiptool's Sales Tracker shows estimated daily sales for Shopify stores in your niche, and the Ad Spy shows the TikTok and Facebook creatives behind those products. You can try Dropshiptool free while your store is still in setup.
What to expect in your first 90 days
Most tutorials stop at "launch." Here's what usually happens next, so you can plan cash and patience.
- Weeks 1 to 2: store live, first product tests running. Expect traffic, add-to-carts and maybe a handful of orders. Many first products flop. That's normal.
- Weeks 3 to 8: you're testing product number three, four, five. You'll learn more from the creatives that failed than from the store design. Track cost per purchase for every product in a simple spreadsheet.
- Weeks 8 to 12: if one product holds a cost per purchase below your break-even for two weeks, you have something. Raise budgets by 20% to 30% at a time, not all at once.
On margins, aim for a net margin of 15% to 25% after ads on your winners. Anything lower leaves no room for refunds, chargebacks and the slow week every store has. If you want the full picture of what stores clear once they're running, see how much dropshippers make.
How to scale after your first sales
- Automate the boring parts. Turn on auto-ordering in your supplier app, automatic tracking sync and price rules that react to supplier cost changes.
- Move winners to faster suppliers. A product that sells daily from an overseas supplier is worth sourcing from a US or EU warehouse. Faster delivery lifts conversion and cuts support tickets.
- Add a backup supplier. Stockouts kill momentum. Have a second source lined up for your top product.
- Raise average order value. Bundles, quantity breaks and a post-purchase upsell spread your ad cost across bigger carts.
- Get support help early. Saved replies, a tracking page and an order-status FAQ handle most tickets. Hire part-time help before your inbox becomes the bottleneck.
- Keep researching. Every product fades. Keep a pipeline of the next three products to test so one tired winner doesn't take the whole store down with it.
Mistakes that sink new Shopify dropshipping stores
- Launching with 300 products. A focused store with 10 to 30 strong products converts better and is easier to manage.
- Too many apps. Every app adds load time. If you can't say what an app earned you this month, uninstall it.
- Fake urgency and fake reviews. Countdown timers that reset and imported reviews from unrelated products hurt trust and can break consumer-protection rules.
- Ignoring delivery times. If your supplier takes 12 days, say so, or switch to faster US and EU suppliers.
- Scaling an unprofitable product. More ad spend on a product below break-even ROAS loses money faster. Fix the offer first.
Start your Shopify store with data, not guesses
The setup steps take a weekend. The part that decides whether you make money is product selection and testing, and that's an ongoing habit, not a one-time task. Build the store, order samples, launch one product with honest delivery times, and judge it on profit per order. Then repeat with the next product until one sticks.
When you're ready to pick products backed by real store sales, create your Dropshiptool account and use the Product Database and weekly Product Portfolio to build your first shortlist.